Hi guys, hope you are fine! 🙂
I'm back after posting the second part of this series about how to get started on ThreeJS without pain. If you haven't done it yet, you can read the first and second part here 👇🏼
Small recap
In the second part, we saw how to animate the cube, how to change its geometry and how to change its material. We arrived to this beautiful 3D animation:
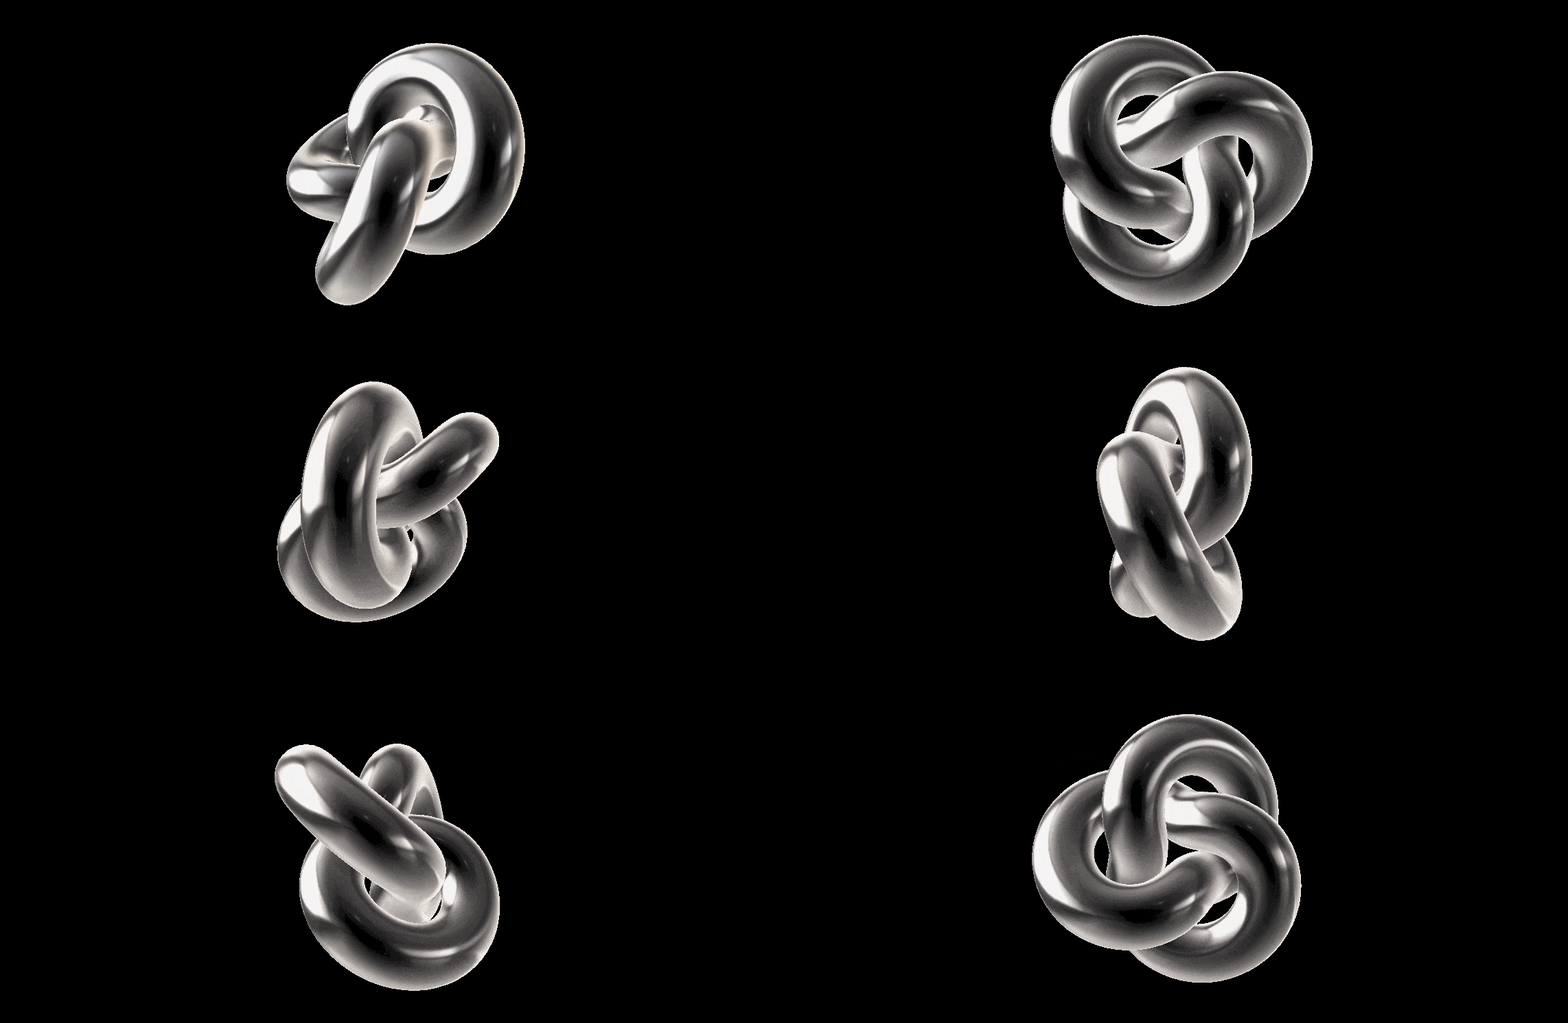
The final code used to achieve this effect is the following:
// script.js

const scene = new THREE.Scene();
const camera = new THREE.PerspectiveCamera(55, window.innerWidth / window.innerHeight);
camera.position.z = 3;
scene.add(camera);

const textureLoader = new THREE.TextureLoader();
const matcapTexture = textureLoader.load("https://bruno-simon.com/prismic/matcaps/3.png");

const geometry = new THREE.TorusKnotGeometry(0.5, 0.2, 200, 30);
const material = new THREE.MeshMatcapMaterial({ matcap: matcapTexture });
const mesh = new THREE.Mesh(geometry, material);
scene.add(mesh);

const renderer = new THREE.WebGLRenderer();
renderer.setSize(window.innerWidth, window.innerHeight);

const animate = function () {
  window.requestAnimationFrame(animate);

  mesh.rotation.x += 0.01;
  mesh.rotation.y += 0.01;

  renderer.render( scene, camera );
};
animate();

document.body.appendChild(renderer.domElement);
In this last part we will see how to make our canvas responsive, how to smoothly animate the camera and how to insert some HTML stuff to be much more presentable as a heading section. We will style the page in order to look like this: https://th3wall-threejs.netlify.app
Let's make it responsive
If we preview in the browser the result of the code provided in the small recap up here, we could clearly see that the canvas is not responsive. So, how can we make it responsive?
First of all, we need to add an event listener on the window 'resize' method:
window.addEventListener('resize', () => {

})
Then, we need to handle the camera. Inside our event listener, we need to update the aspect of the camera, and we do so by providing it the ratio between the window innerWidth and innerHeight:
//Update the camera
camera.aspect = window.innerWidth / window.innerHeight;
Every time we update a parameter of the camera, we should communicate it to the camera. The "updateProjectionMatrix" is a function of the PerspectiveCamera that updates the camera projection matrix. It must be called after any change of parameters. (see it in ThreeJS docS) So, on the camera we call this method:
camera.updateProjectionMatrix();
The last thing to do is to pass the new viewport sizes to the renderer:
renderer.setSize(window.innerWidth, window.innerHeight);
and we're done! Now our canvas is fully responsive and we can verify it by resizing the screen. Here's the full event listener function:
window.addEventListener('resize', () => {
  //Update the camera
  camera.aspect = window.innerWidth / window.innerHeight;
  camera.updateProjectionMatrix();

  //Update the renderer
  renderer.setSize(window.innerWidth, window.innerHeight);
})
Camera animations based on mouse position
Now that we added responsiveness to our canvas and our object, it's time to bring some movements to the scene. We're going to do a classic animation: if we move the mouse on the left the camera will move to the left, if we move the mouse on the right the camera will move to the right, and the same applies to up & down movements.
First of all we need to know where is the cursor. We can store the cursor position in a variable:
const cursor = { x: 0, y: 0 };
Whenever the mouse will move, the x and y values of the cursor will be updated. So we add an event listener on the mousemove:
window.addEventListener('mousemove', event => {
  // update cursor values
});
Inside the listener we will retrieve the cursor position with vanilla JS, really easy. The event parameter contains the position of the cursor on the X-axis and on the Y-axis:
cursor.x = event.clientX;
cursor.y = event.clientY;
Logging the values of the cursor we can see the coordinates that go from 0 (on the top left) to the maximum viewport width and height (to the bottom right). But the kind of values we want to have are normalized values, that go from 0 to 1. We can achieve this by dividing the cursor value by the current viewport width/height:
cursor.x = event.clientX / window.innerWidth;
cursor.y = event.clientY / window.innerHeight;
Now that we have the values that floats from 0 to 1, we can add a little genius trick from Bruno: let's subtract 0.5 from each cursor values.
cursor.x = event.clientX / window.innerWidth - 0.5;
cursor.y = event.clientY / window.innerHeight - 0.5;
Why?
Because in this way (you can look at the graph down here) having the 0 at the center, the positive values will go to +0.5 and the negative values will go to -0.5
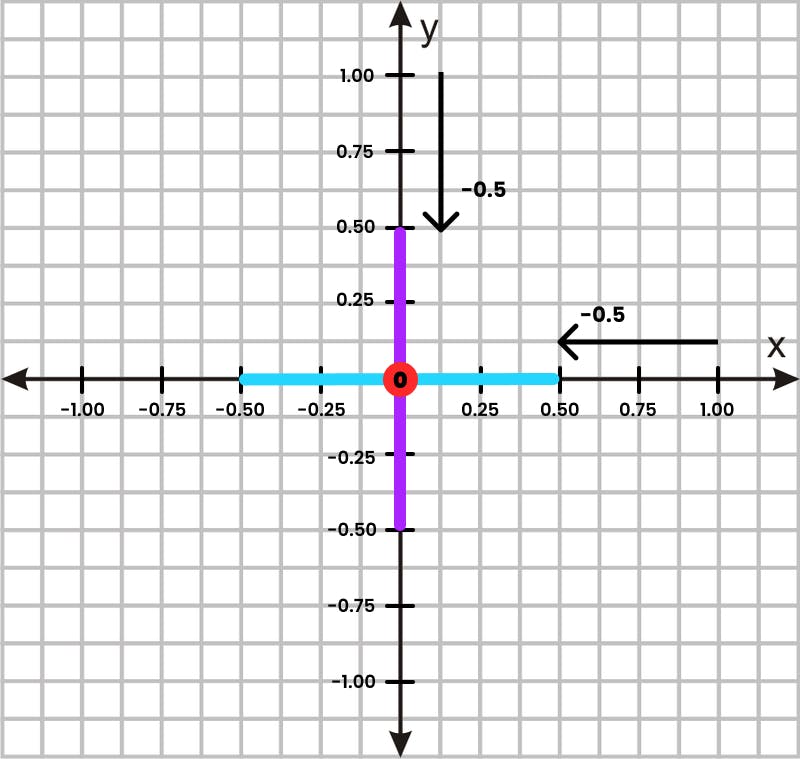
Now that we have coded the update for the cursor values, we need to move the camera simultaneously. Inside the animate function, that is executed with the requestAnimationFrame, we save the cursor values in two variables:
const cameraX = cursor.x;
const cameraY = cursor.y;
We assign these two values to the camera position:
camera.position.x = cameraX;
camera.position.y = cameraY;
As we can see previewing the result, the camera is moving with a strange behavior when we move vertically. If I move up, the camera moves down and if I move down, the camera moves up.
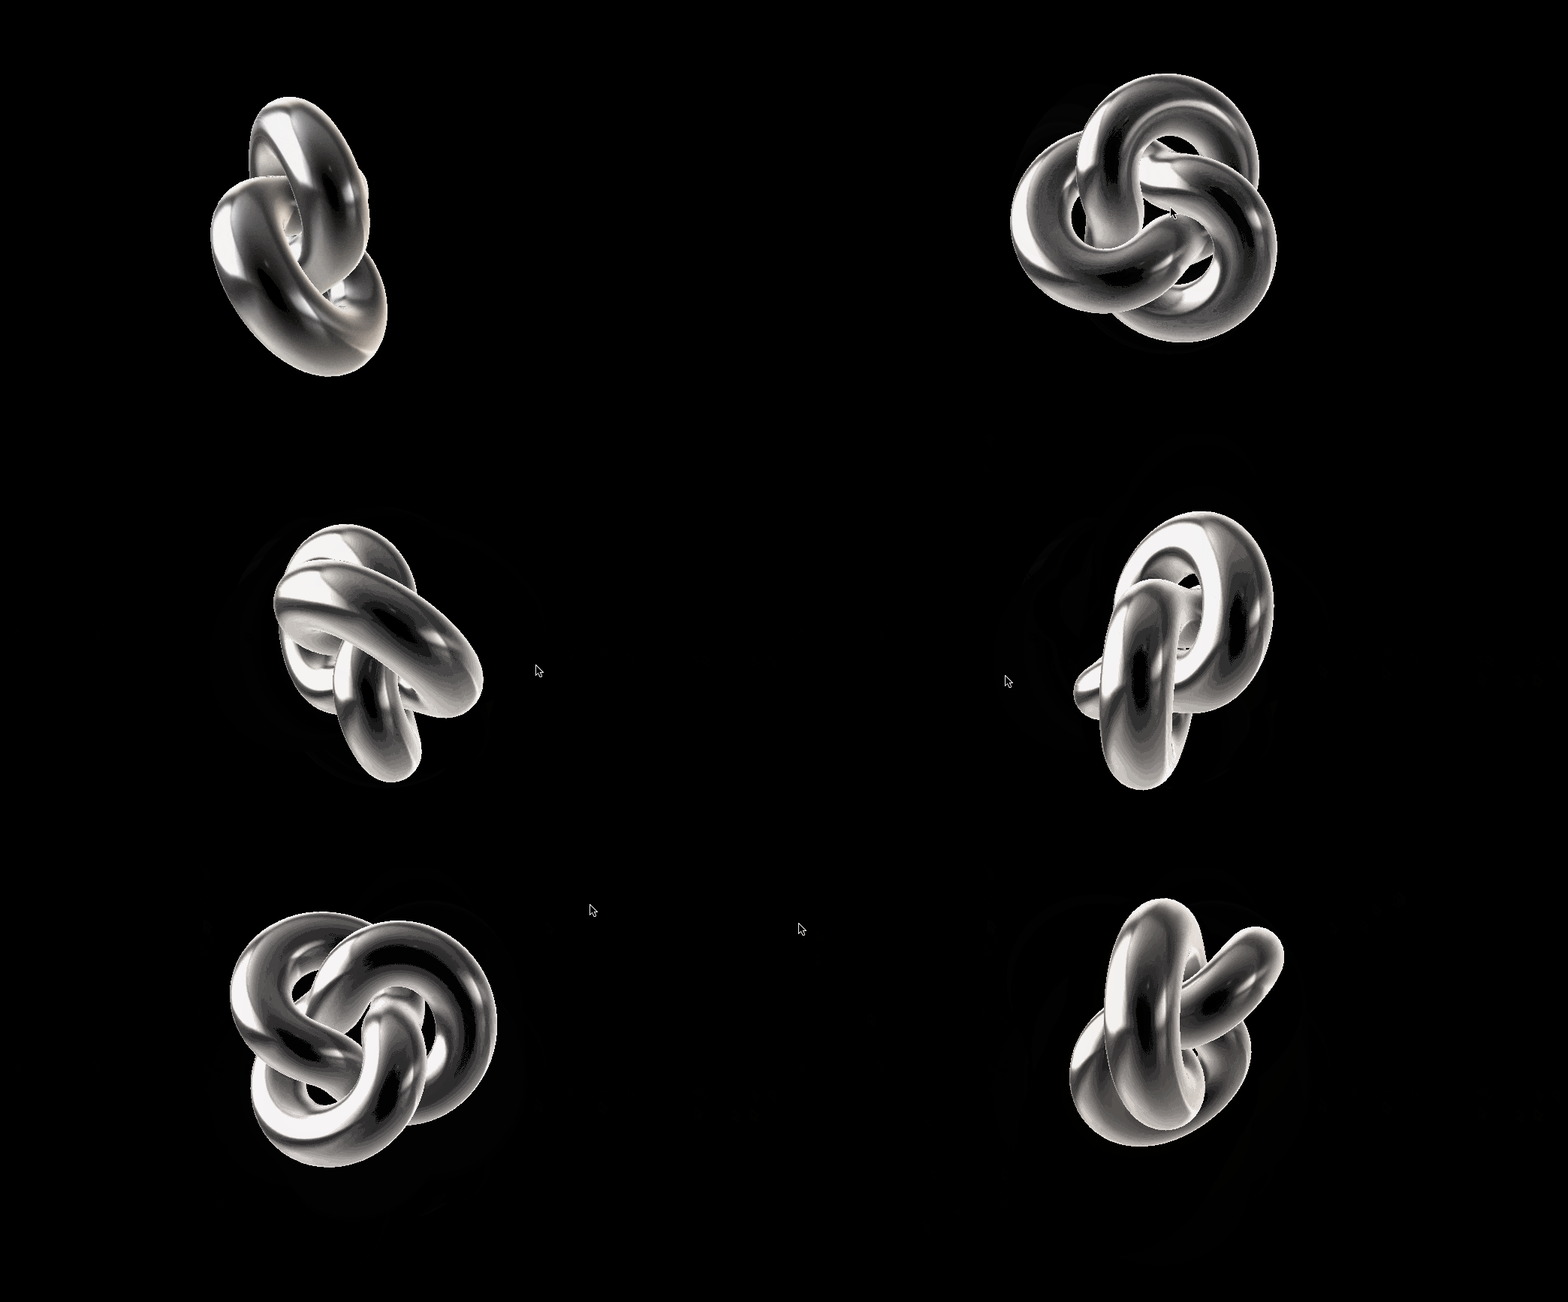
This is caused by a problem on the Y-axis:
- in ThreeJS the Y-axis is positive going up;
- in event.clientY the Y-axis is positive going down;
Usually the Y-axis is positive going up, but this might depend on the software/technology we are using. To fix this inconvenience I will put a - (minus) inside the cameraY assignment:
const cameraX = cursor.x;
const cameraY = - cursor.y; // <-- This has changed
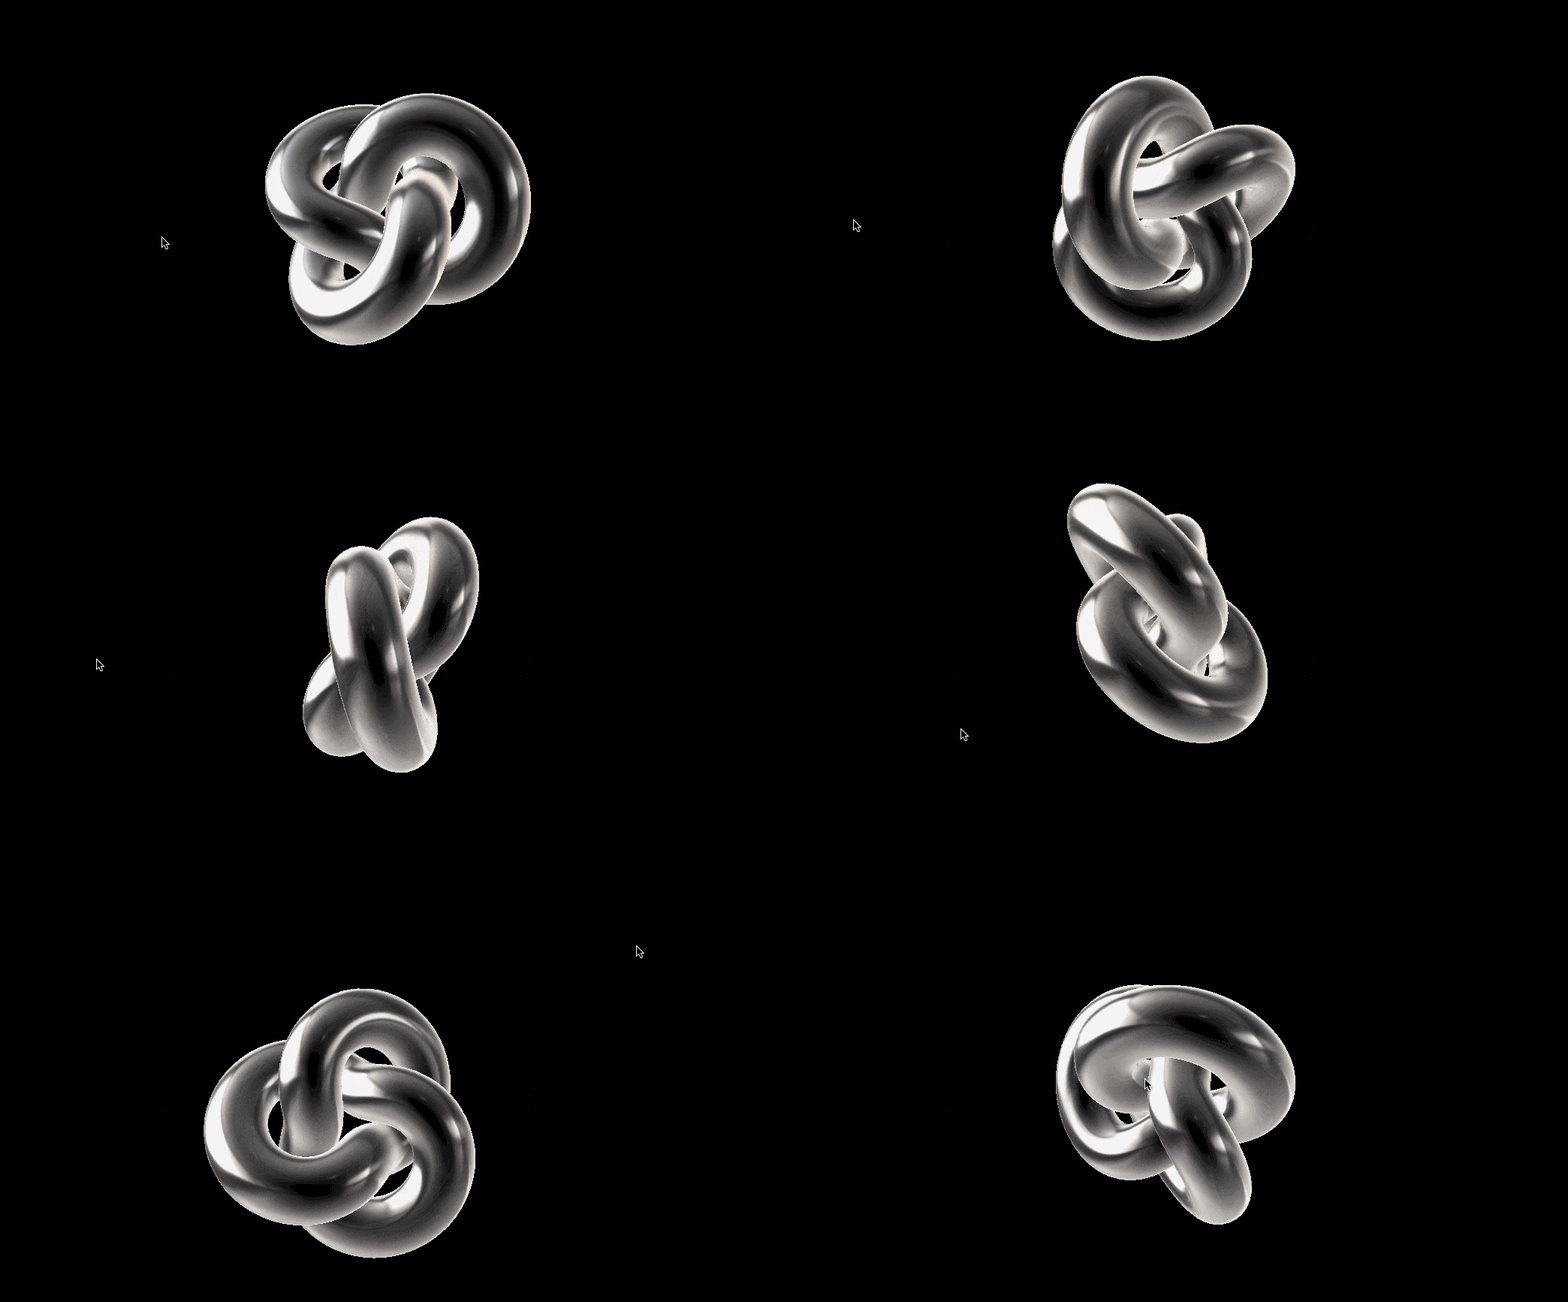
Now if we preview we can finally see the correct camera movements event on the vertical axis
Add easing to the animations
Let's now add some easing to the animations: we're gonna recreate the famous ease animation.
The idea is to move the X (or the Y) toward the destination not straight to it but only for 1/10th of the length of the destination. And repeating the 1/10th calculation on each next frame, the 1/10th gets smaller and smaller and smaller... This reproduces the classic ease animation.

We need the calculate the delta between the actual position (cameraX/Y) and the destination (camera.position.x/y), then we divide this delta number by 10. This will be added on each frame to the camera position values.
So in order to apply this calc, we need to modify the camera position assignments like the following:
camera.position.x += (cameraX - camera.position.x) / 10;
camera.position.y += (cameraY - camera.position.y) / 10;
You can now enjoy the real smoothness!
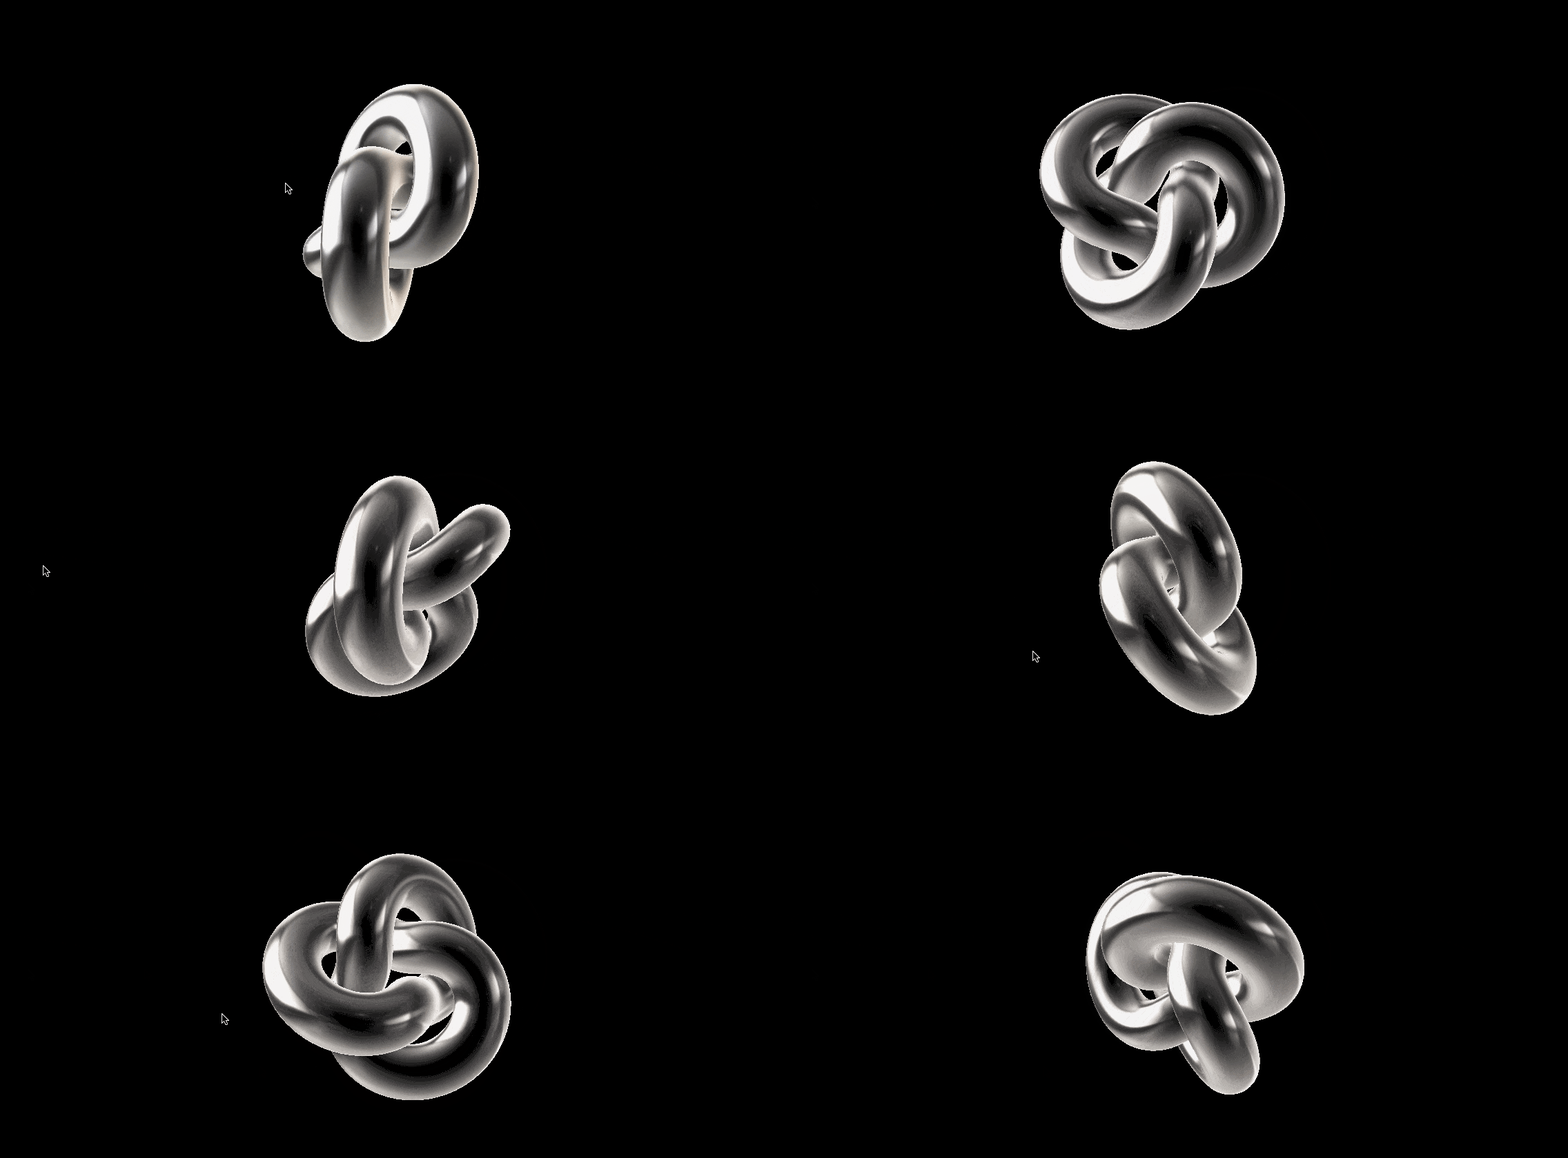
You can adjust that /10 on your needs: keep in mind that with an higher number you would have even more smoothness and with a lower number you would have an object that floats really fast but still with a small easing.
Setting up layout
At this point we just need to setup the HTML and CSS of our landing page.
First of all we can open the index.html file that we have created in part one.
We can add the classname "three" on the <body> tag and the following structure inside it:
<!-- index.html -->
<section class="content">
  <h2 class="content__title">Hi, I'm Davide</h2>
  <p class="content__subtitle">I'm a Front End Developer <br />I'm playing with ThreeJS for the very first time. </p>
  <div class="content__link--wrp">
    <a class="content__link" href="https://github.com/Th3Wall">
      <svg class="content__link--icon" xmlns="http://www.w3.org/2000/svg" fill="none" viewbox="0 0 55 56">
        <g clip-path="url(#a)">
          <path fill="#fff" fill-rule="evenodd" d="M27.5.5387C12.3063.5387 0 12.8449 0 28.0387c0 12.1687 7.8719 22.4469 18.8031 26.0906 1.375.2406 1.8907-.5844 1.8907-1.3062 0-.6532-.0344-2.8188-.0344-5.1219-6.9094 1.2719-8.6969-1.6844-9.2469-3.2313-.3094-.7906-1.65-3.2312-2.8187-3.8843-.9626-.5156-2.3376-1.7875-.0344-1.8219 2.1656-.0344 3.7125 1.9937 4.2281 2.8187 2.475 4.1594 6.4281 2.9907 8.0094 2.2688.2406-1.7875.9625-2.9906 1.7531-3.6781-6.1187-.6875-12.5125-3.0594-12.5125-13.5782 0-2.9906 1.0656-5.4656 2.8188-7.3906-.275-.6875-1.2375-3.5062.275-7.2875 0 0 2.3031-.7219 7.5625 2.8188 2.1999-.6188 4.5375-.9282 6.875-.9282 2.3374 0 4.675.3094 6.875.9282 5.2593-3.575 7.5625-2.8188 7.5625-2.8188 1.5125 3.7813.55 6.6.275 7.2875 1.7531 1.925 2.8187 4.3656 2.8187 7.3906 0 10.5532-6.4281 12.8907-12.5469 13.5782.9969.8593 1.8563 2.5093 1.8563 5.0875 0 3.6781-.0344 6.6344-.0344 7.5625 0 .7218.5156 1.5812 1.8906 1.3062A27.5454 27.5454 0 0 0 55 28.0387c0-15.1938-12.3062-27.5-27.5-27.5Z" clip-rule="evenodd"></path>
        </g>
        <defs>
          <clippath id="a">
            <path fill="#fff" d="M0 0h55v55H0z" transform="translate(0 .5387)"></path>
          </clippath>
        </defs>
      </svg>
      <span class="content__link--text">Th3Wall</span>
    </a>
    <a class="content__link" href="https://twitter.com/Th3Wall25">
      <svg class="content__link--icon" xmlns="http://www.w3.org/2000/svg" fill="none" viewbox="0 0 55 46">
        <path fill="#fff" d="M54.8923 6.0116a22.9167 22.9167 0 0 1-6.474 1.776 11.3622 11.3622 0 0 0 4.9569-6.2402c-2.1794 1.272-4.5948 2.1978-7.166 2.7134a11.2752 11.2752 0 0 0-18.5074 3.0528 11.2754 11.2754 0 0 0-.706 7.2184C17.6229 14.0897 9.3202 9.5866 3.7583 2.785a11.0506 11.0506 0 0 0-1.5262 5.6718c0 3.9188 1.9937 7.3631 5.0141 9.3867a11.2384 11.2384 0 0 1-5.1058-1.4117v.1375a11.2821 11.2821 0 0 0 9.0429 11.0619 11.449 11.449 0 0 1-5.0691.1948 11.3113 11.3113 0 0 0 10.5508 7.8306 22.6124 22.6124 0 0 1-13.9837 4.824c-.8938 0-1.7853-.0527-2.6813-.1536a32.0718 32.0718 0 0 0 17.3181 5.0623c20.7465 0 32.0788-17.1783 32.0788-32.0489 0-.4813 0-.9625-.0344-1.4438A22.7684 22.7684 0 0 0 55 6.0574l-.1077-.0458Z"></path>
      </svg>
      <span class="content__link--text">Th3Wall25</span>
    </a>
  </div>
</section>
Now you need the styling part: I'll paste here the css generated from my SCSS code. You need to insert it inside the styles.css file:
/* --- styles.css --- */
@import url("https://fonts.googleapis.com/css2?family=Poppins:wght@300;400;500;600;700;800;900&display=swap");

html {
  font-size: 16px;
  -webkit-font-smoothing: antialiased;
  -moz-osx-font-smoothing: auto;
  font-family: -apple-system, BlinkMacSystemFont, Segoe UI, Helvetica, Arial,
    sans-serif, Apple Color Emoji, Segoe UI Emoji, Segoe UI Symbol;
  scroll-behavior: smooth;
}

body {
  position: relative;
  overflow-x: hidden;
  margin: 0;
  display: flex;
  flex-direction: column;
  align-items: center;
  justify-content: center;
  font-family: "Poppins", sans-serif;
  font-size: 1rem;
  font-weight: 400;
  background-color: #fff;
  color: #000;
  text-align: center;
}

h1,
h2,
h3,
h4,
h5,
h6,
p {
  margin: 0;
}

.three {
  position: relative;
  overflow: hidden;
  width: 100vw;
  min-height: 100vh;
  height: 100%;
}

.three .content {
  position: absolute;
  top: 50%;
  left: 5%;
  transform: translateY(-50%);
  margin-top: 1rem;
  display: flex;
  flex-direction: column;
  justify-content: center;
  text-align: left;
  mix-blend-mode: difference;
  -webkit-touch-callout: none;
  -webkit-user-select: none;
  -khtml-user-select: none;
  -moz-user-select: none;
  -ms-user-select: none;
  user-select: none;
}

.three .content__title {
  font-size: 26px;
  font-weight: 800;
  background: linear-gradient(270deg, #ffb04f 40%, #ff8961, #ff50b8, #cb5eee);
  color: #9d8eee;
  background-clip: text;
  -webkit-background-clip: text;
  -webkit-text-fill-color: transparent;
  -webkit-box-decoration-break: clone;
}

.three .content__subtitle {
  margin-bottom: 1.5rem;
  font-size: 14px;
  color: #fff;
}

.three .content__link {
  display: inline-flex;
  align-items: center;
  color: inherit;
}

.three .content__link:last-child {
  margin-left: 1rem;
}

.three .content__link:hover .content__link--icon,
.three .content__link:hover .content__link--text {
  opacity: 0.65;
  transform: translateX(5px);
}

.three .content__link--wrp {
  display: flex;
  align-items: center;
}

.three .content__link--icon {
  width: 100%;
  max-width: 1.5rem;
  transition: all 0.4s cubic-bezier(0.6, -0.05, 0.01, 0.99);
}

.three .content__link--text {
  margin-left: 0.5rem;
  display: block;
  text-decoration: underline;
  font-size: 14px;
  color: #fff;
  transition: all 0.4s cubic-bezier(0.6, -0.05, 0.01, 0.99);
}

@media (min-width: 768px) {
  .three .content__title {
    letter-spacing: -0.1rem;
  }
  .three .content__link:last-child {
    margin-left: 2rem;
  }
  .three .content__link--icon {
    max-width: 2.5rem;
  }
  .three .content__link--text {
    margin-left: 1rem;
    font-size: 16px;
  }
}

@media (min-width: 1450px) {
  .three .content__title {
    font-size: 62px;
  }
  .three .content__subtitle {
    font-size: 28px;
  }
  .three .content__link--text {
    font-size: 22px;
  }
}
Once everything will be in place, we should have a result that looks like this:
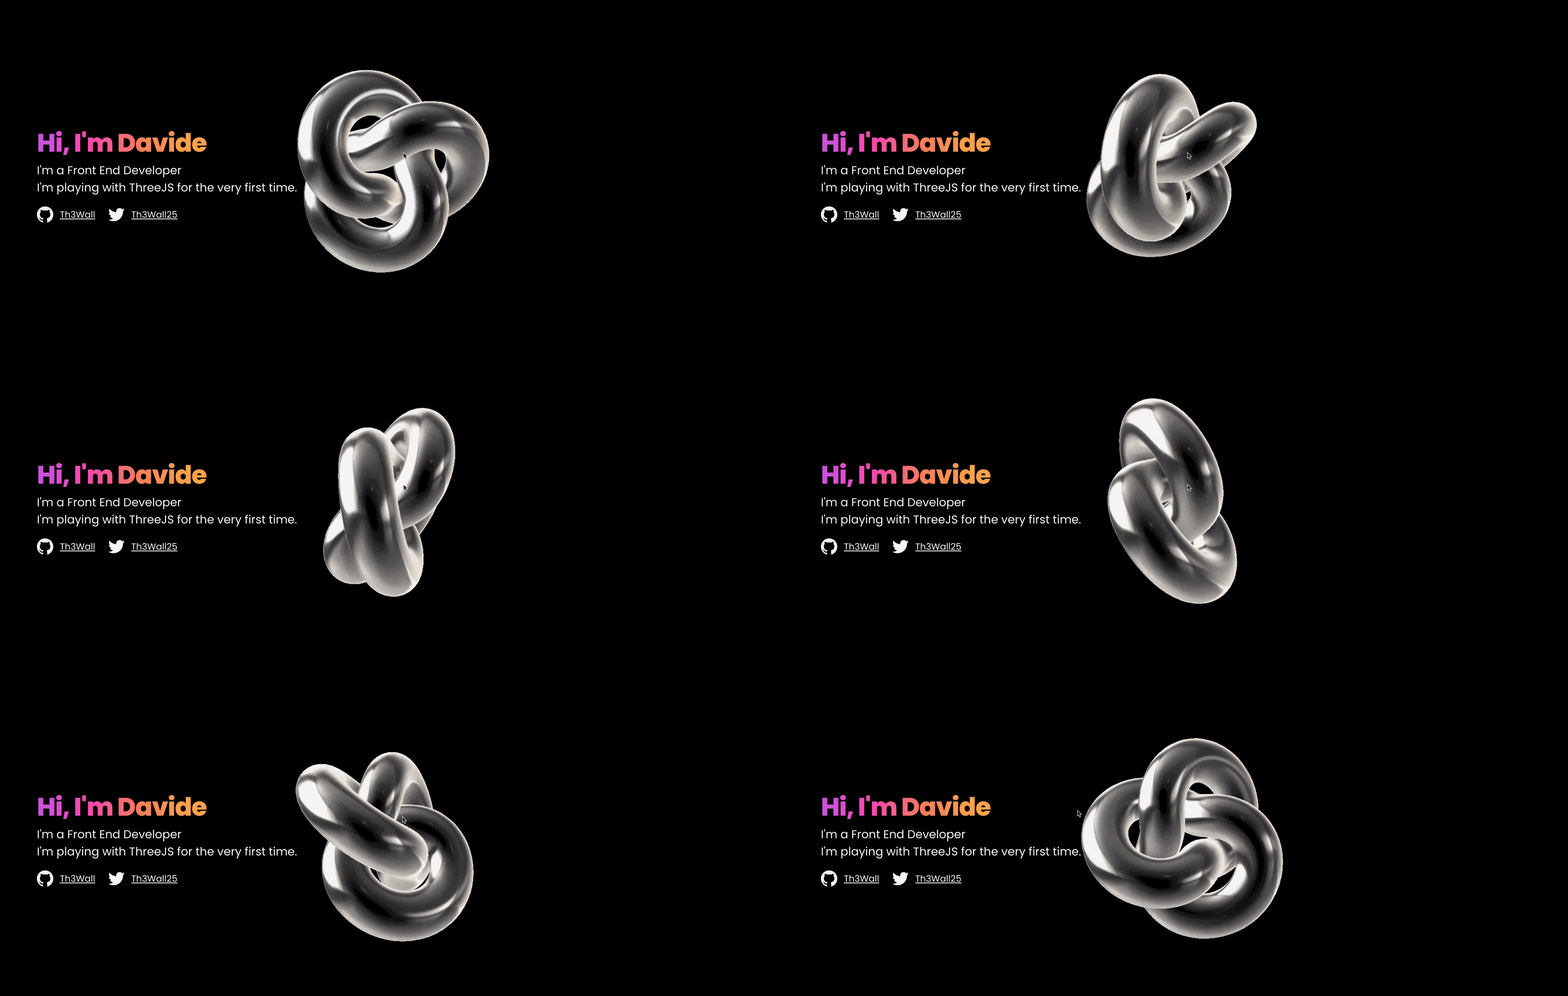
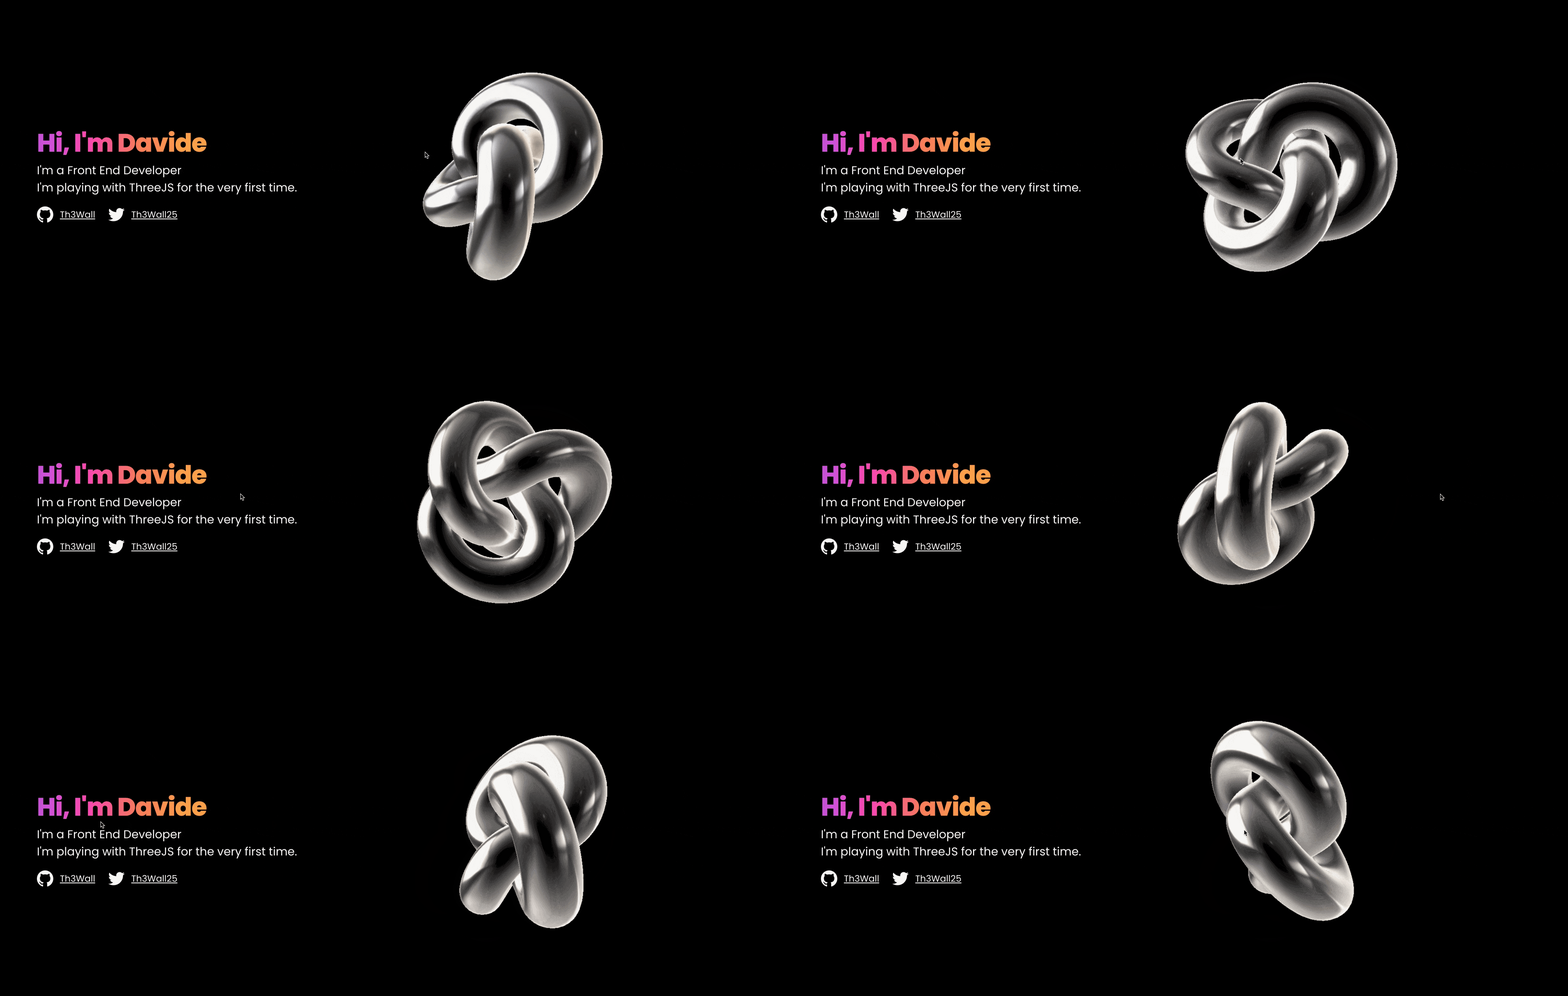
As we can see, the object is centered and it would fit a lot better on the right so that it won't intersect with the text on the left. In order to move it, we need to adjust the cameraX inside the animate function:
const cameraX = cursor.x;    //Before

const cameraX = cursor.x -1; //After
Since we wanted to move the object on the right, we have subtracted the 1 to the camera, so that it will always have an offset of 1.
Adding sequenced entrances with GSAP
We are at the very end, and as ending we want to animate with GSAP the entrance of the elements in the page.
In order to animate our floating object, we need to change how the canvas is attached to the body. At the moment the canvas is attached automatically to the body by ThreeJS but we need to animate the canvas element on load so we need to already have it on the page at load time.
Inside the index.html, adjacent to the <section class="content"> inserted in the last paragraph, we need to insert the canvas manually and give it an id or a classname:
<canvas id="world"></canvas>
At this point we can declare the variables for each element we want to animate:
const canvas = document.querySelector("#world");
const title = document.querySelector(".content__title");
const subtitle = document.querySelector(".content__subtitle");
const buttons = document.querySelectorAll(".content__link");
We take the canvas variable and we pass it as a parameter to the renderer, like this:
const renderer = new THREE.WebGLRenderer({
   canvas: canvas
});
This will tell the renderer that the canvas to attach is the one passed to the canvas parameter, so the one with the id "world".
Now that the renderer knows what it has to display, we can remove this line:
document.body.appendChild(renderer.domElement);
Then, we need to pass two parameters to the material in order to let it be able to be transparent:
- transparent: true
- opacity: 0
and we set them inside the material declaration
const material = new THREE.MeshMatcapMaterial({
  matcap: matcapTexture,
  transparent: true,
  opacity: 0
});
Now we need to install GSAP and with NPM we can type the following command:
npm install gsap
Once installed, we can import it on top of our script.js file:
import { gsap } from "gsap";
and we can declare a classic timeline like this one:
const tl = gsap.timeline({paused: true, delay: 0.8, easing: "Back.out(2)"});

tl.from(title, {opacity: 0, y: 20})
  .from(subtitle, {opacity: 0, y: 20}, "-=.3")
  .from(buttons,
    {stagger: {each: 0.2, from: "start"}, opacity: 0, y: 20},
    "-=.3"
  )
  .to(material, {opacity: 1}, "-=.2");
As a very last step, we call the timeline play trigger after the animate function.
tl.play();
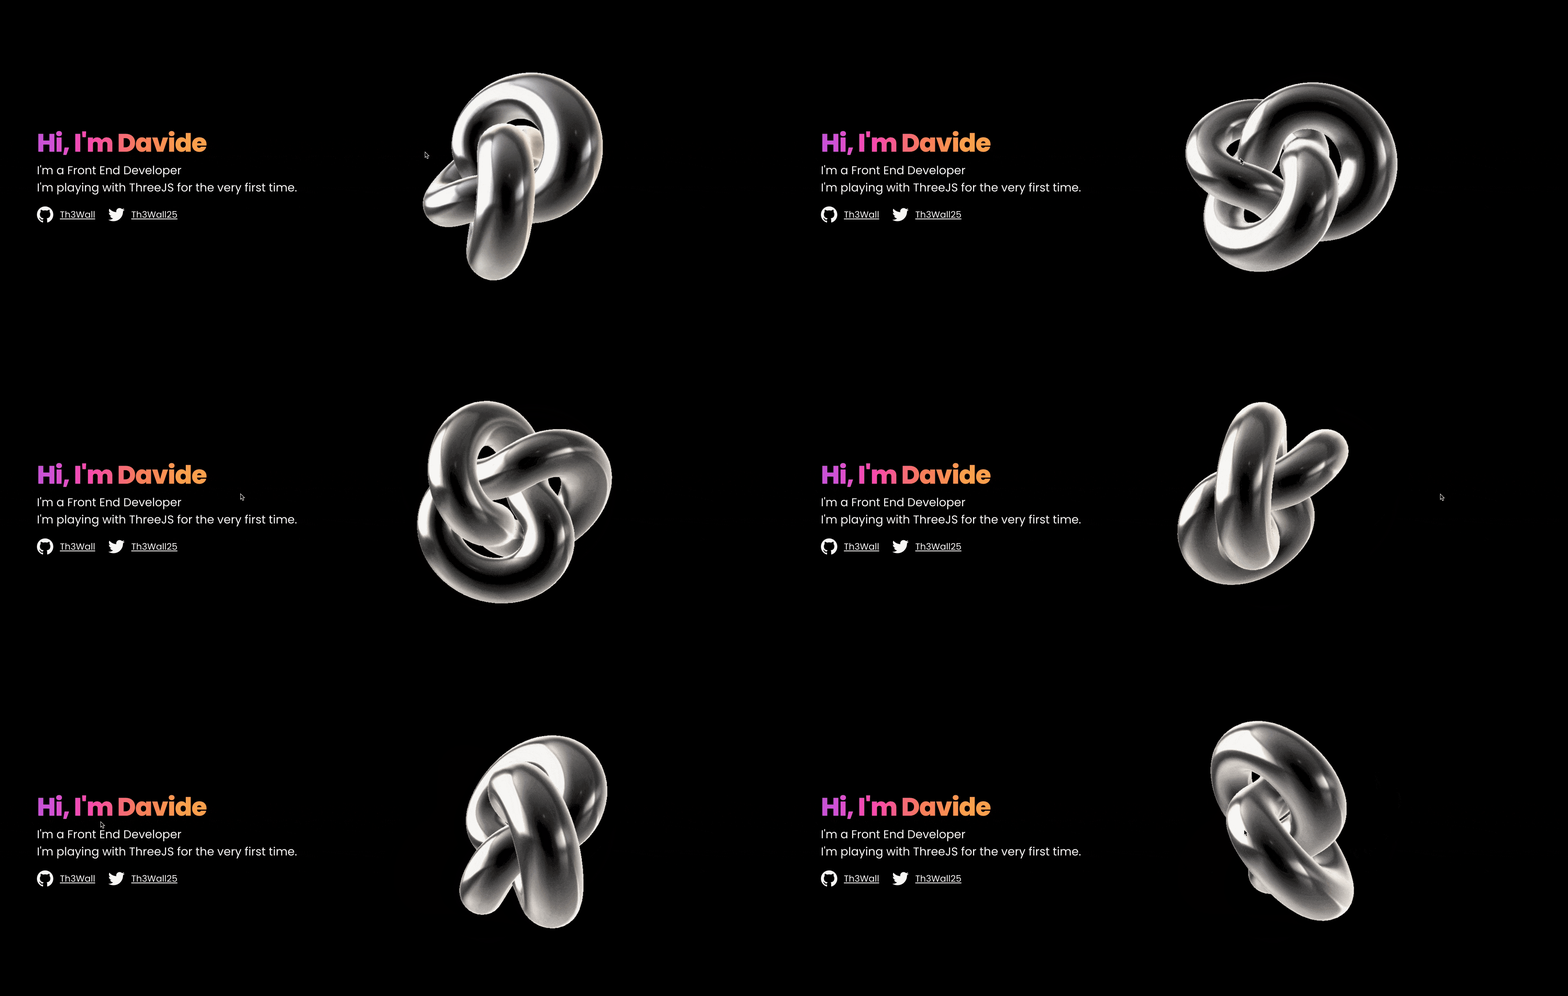
Mission accomplished! Congratulations! 🥳 🎉 👏
Final Recap
I leave down here the full final script.js code block so you can have a better look at it:
// script.js
import * as THREE from "three";
import { gsap } from "gsap";

const canvas = document.querySelector("#world");
const title = document.querySelector(".content__title");
const subtitle = document.querySelector(".content__subtitle");
const buttons = document.querySelectorAll(".content__link");

const cursor = { x: 0, y: 0 };

const scene = new THREE.Scene();
const camera = new THREE.PerspectiveCamera(55, window.innerWidth / window.innerHeight);
camera.position.z = 3;
scene.add(camera);

const textureLoader = new THREE.TextureLoader();
const matcapTexture = textureLoader.load("https://bruno-simon.com/prismic/matcaps/3.png");

const geometry = new THREE.TorusKnotGeometry(0.5, 0.2, 200, 30);
const material = new THREE.MeshMatcapMaterial({ matcap: matcapTexture, transparent: true, opacity: 0 });
const mesh = new THREE.Mesh(geometry, material);
scene.add(mesh);

const renderer = new THREE.WebGLRenderer({ canvas: canvas });
renderer.setSize(window.innerWidth, window.innerHeight);

window.addEventListener('resize', () => {
  camera.aspect = window.innerWidth / window.innerHeight;
  camera.updateProjectionMatrix();
  renderer.setSize(window.innerWidth, window.innerHeight);
})

window.addEventListener('mousemove', (_e) => {
  cursor.x = _e.clientX / window.innerWidth - 0.5;
  cursor.y = _e.clientY / window.innerHeight - 0.5;
});

const tl = gsap.timeline({ paused: true, delay: 0.8, easing: "Back.out(2)" });

tl.from(title, {opacity: 0, y: 20})
  .from(subtitle, {opacity: 0, y: 20}, "-=.3")
  .from(buttons, {stagger: {each: 0.2, from: "start"}, opacity: 0, y: 20}, "-=.3")
  .to(material, { opacity: 1 }, "-=.2");

const animate = function () {
  window.requestAnimationFrame(animate);

  mesh.rotation.x += 0.01;
  mesh.rotation.y += 0.01;

  const cameraX = cursor.x -1;
  const cameraY = - cursor.y;

  camera.position.x += (cameraX - camera.position.x) / 10;
  camera.position.y += (cameraY - camera.position.y) / 10;

  renderer.render( scene, camera );
};
animate();
tl.play();
Conclusion
I really hope that this mini-series has helped you and as many people as possible and maybe inspired as Bruno Simon did with me when I saw the interview for the first time. Please let me know if you appreciated the article and the whole mini-series.
You can follow me on Twitter, GitHub & DEV.to.
Thanks for reading!
Th3Wall

